
Infrastructure:
Ideally I wanted to run a home Kubernetes cluster on three or more Raspberry PIs, but at the time of writing I only have one suitable PI 4 at home and stock appears to be in short supply. Instead I will use what I have, mixing and matching devices.
- One HP Z200 Workstation with 8GB RAM, running Ubuntu 20.04 with KVM running 2 Ubuntu VMs that I’ll designate as worker nodes in the cluster.
- 1 Raspberry PI4 Model B 2GB RAM running Ubuntu 20.04 that I’ll use as the Kubernetes Master / Control Plane node.

Install and Prepare Ubuntu 20.04 on the Z200 / Configure the KVM Hypervisor:
Install Ubuntu on the Z200 Workstation via a bootable USB stick.
Install cpu-checker and verify that the system can use KVM acceleration.
sudo apt install cpu-checker
sudo kvm-ok
Install KVM Packages:
sudo apt install qemu-kvm libvirt-daemon-system libvirt-clients bridge-utils virt-manager virtinst

sudo systemctl status libvirtdsudo

systemctl enable --now libvirtd
Authorize User and Verify the install:
sudo usermod -aG libvirt $USER
sudo usermod -aG kvm $USER

sudo virsh list --all
Configure Bridged Networking:
Bridged networking allows the virtual interfaces to connect to the outside network through the physical interface, making them appear as normal hosts to the rest of the network. https://help.ubuntu.com/community/KVM/Networking#Bridged_Networking
ip --brief a s
brctl show
nmcli con show
sudo nmtui
Verify with
ip --brief a s
brctl show
nmcli con show
Configure Private Virtual Switch:
Use virsh to create the private network:
istacey@ubuntu-z200-01:~$ vi /tmp/br0.xml
istacey@ubuntu-z200-01:~$ cat /tmp/br0.xml
<network>
  <name>br0</name>
  <forward mode="bridge"/>
  <bridge name="br0" />
</network>
istacey@ubuntu-z200-01:~$ sudo virsh net-list --all
 Name      State    Autostart   Persistent
--------------------------------------------
 default   active   yes         yes

istacey@ubuntu-z200-01:~$ sudo virsh net-define /tmp/br0.xml
Network br0 defined from /tmp/br0.xml

istacey@ubuntu-z200-01:~$ sudo virsh net-start br0
Network br0 started

istacey@ubuntu-z200-01:~$ sudo virsh net-autostart br0
Network br0 marked as autostarted

istacey@ubuntu-z200-01:~$ sudo virsh net-list --all
 Name      State    Autostart   Persistent
--------------------------------------------
 br0       active   yes         yes
 default   active   yes         yes

istacey@ubuntu-z200-01:~$
Enable incoming ssh:
sudo apt update
sudo apt install openssh-server
sudo systemctl status ssh
Test KVM
To test KVM, I created a temporary VM via the Virtual Machine Manager GUI (virt-manager), connected to the br0 bridge and used ssh to connect.
Install Vagrant:
KVM is all that is required to create VMs, either manually through the virt-manager GUI or scripted via virt-install, ansible or other automation tool, but for this exercise I thought I’d try Vagrant. I plan to build and rebuild this lab frequently and Vagrant is a popular tool for quickly spinning up VMs. It is not something I’d previously played with, so I thought I’d check it out.
Download and install
Installed as per https://www.vagrantup.com/downloads.
curl -fsSL https://apt.releases.hashicorp.com/gpg | sudo apt-key add -

sudo apt-add-repository "deb [arch=amd64] https://apt.releases.hashicorp.com $(lsb_release -cs) main"
  102

sudo apt-get update && sudo apt-get install vagrant

vagrant --version
Enable Libvirt provider plugin
We need to install the libvirt provider plugin as Vagrant is only aware Hyper-V, Docker and Oracle Virtualbox by default as shown below.

However I hit the following bug when trying to install:
istacey@ubuntu-z200-01:~/vagrant$ vagrant plugin install vagrant-libvirt
Installing the 'vagrant-libvirt' plugin. This can take a few minutes...
Building native extensions. This could take a while...
Vagrant failed to properly resolve required dependencies. These
errors can commonly be caused by misconfigured plugin installations
or transient network issues. The reported error is:

ERROR: Failed to build gem native extension.

....

common.c:27:10: fatal error: st.h: No such file or directory
   27 | #include <st.h>
      |          ^~~~~~
compilation terminated.
make: *** [Makefile:245: common.o] Error 1

make failed, exit code 2

Gem files will remain installed in /home/istacey/.vagrant.d/gems/3.0.1/gems/ruby-libvirt-0.7.1 for inspection.
Results logged to /home/istacey/.vagrant.d/gems/3.0.1/extensions/x86_64-linux/3.0.0/ruby-libvirt-0.7.1/gem_make.out
The bug is described here: https://github.com/hashicorp/vagrant/issues/12445#issuecomment-876254254
After applying the suggested hotfix, I was able to install the plugin and test successfully:


Create the Worker Node VMs
With KVM working and Vagrant configured we can create the VMs that will become worker nodes in the K8s cluster. Below is my Vagrantfile to spin up two VMs, I referred to https://github.com/vagrant-libvirt/vagrant-libvirt for options:
Vagrant.configure('2') do |config|
  config.vm.box = "generic/ubuntu2004"

  config.vm.define :k8swrk01 do |k8swrk01|
    k8swrk01.vm.hostname = "k8s-worker01"
    k8swrk01.vm.network :private_network, type: "dhcp",
      libvirt__network_name: "br0"
    k8swrk01.vm.provider :kvm do |kvm, override|
      kvm.memory_size     = '2048m'
      kvm.cpus            = '2'
    end
  end

  config.vm.define :k8swrk02 do |k8swrk02|
    k8swrk02.vm.hostname = "k8s-worker02"
    k8swrk02.vm.network :private_network, type: "dhcp",
      libvirt__network_name: "br0"
    k8swrk02.vm.provider :kvm do |kvm, override|
      kvm.memory_size     = '2048m'
      kvm.cpus            = '2'
    end
  end

end


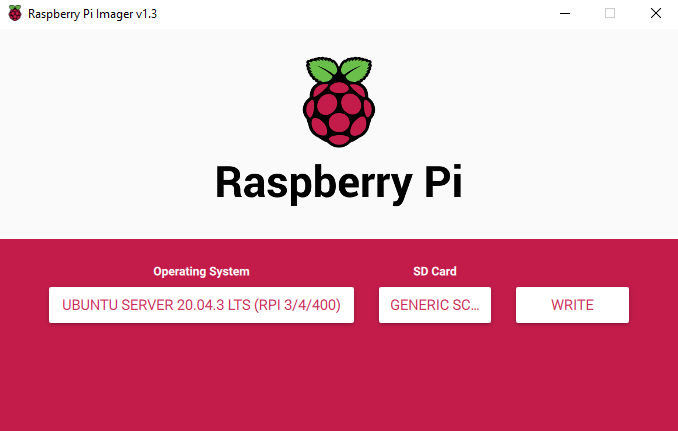
Install Ubuntu on the Raspberry Pi
Following https://ubuntu.com/tutorials/how-to-install-ubuntu-on-your-raspberry-pi#2-prepare-the-sd-card

Configure nodes
Next configure the nodes, creating user accounts, copying ssh-keys, configuring sudoers, etc.
See part 2 for bootstrapping a new Kubernetes cluster:
Resources
Here are some articles I came across in my research or by complete accident….. …
Tool Homepages
- https://www.linux-kvm.org/
- https://libvirt.org/
- https://www.vagrantup.com/
- https://github.com/vagrant-libvirt/vagrant-libvirt
Installation
. https://leftasexercise.com/2020/05/15/managing-kvm-virtual-machines-part-i-vagrant-and-libvirt/ https://www.taniarascia.com/what-are-vagrant-and-virtualbox-and-how-do-i-use-them/ . https://www.hebergementwebs.com/news/how-to-configure-a-kubernetes-cluster-on-ubuntu-20-04-18-04-16-04-in-14-steps . https://ostechnix.com/how-to-use-vagrant-with-libvirt-kvm-provider/